Top Vinyl Siding Installation Plans: A Definitive Editorial Guide
The integrity of a residential structure often rests upon the invisible precision of its exterior envelope. While vinyl siding is frequently dismissed as a budget-grade commodity in contemporary architectural circles, such a reductive view ignores the engineering complexity required to manage the material’s significant coefficient of thermal expansion. Top Vinyl Siding Installation Plans. In the American residential market, a successful installation is less about the material itself and more about the systemic strategy used to mitigate moisture intrusion and structural movement.
A truly sophisticated exterior project necessitates a move away from the “clutter-and-cover” mentality that dominated the late 20th century. Instead, modern building science demands that we treat the cladding as the final component of a multi-layered weatherization assembly. This requires a rigorous planning phase that accounts for wind-load pressures, vapor drive, and the specific geometric anomalies of the existing structure. When these variables are ignored, even the highest-grade polymer siding will eventually buckle, fade, or facilitate the silent degradation of the underlying sheathing.
This analysis moves beyond the basic mechanical steps of fastening panels to a wall. It seeks to establish a definitive framework for technical excellence, examining how professional-grade planning differentiates a thirty-year asset from a five-year liability. By dissecting the intersection of thermodynamics, material science, and field execution, we can define the parameters of a successful installation—one that prioritizes structural longevity over immediate visual gratification.
Understanding “top vinyl siding installation plans”
The term top vinyl siding installation plans is frequently co-opted by marketing narratives to suggest a simple choice of color or texture. In a professional editorial context, however, these “plans” refer to the comprehensive technical blueprints that govern the relationship between the cladding and the building’s drainage plane. A high-tier plan is characterized by its obsessive focus on “flashing-first” logic—recognizing that the siding is a water-shedder, not a waterproof barrier.
One common misunderstanding is the belief that vinyl is a static material. Because it is a PVC-based product, it expands and contracts significantly with temperature fluctuations—sometimes as much as half an inch over a twelve-foot span. Therefore, an installation plan that fails to account for this movement is inherently flawed. The “plan” is not just a layout; it is a mechanical strategy for managing kinetic energy within a rigid aesthetic framework.
Oversimplification risks are rampant in the industry, particularly regarding the use of “fan-fold” insulation or house wraps. Many homeowners assume that adding a layer of foam solves thermal bridging, but without a plan for managing the resulting change in window-casing depth, the project often ends with “recessed” windows that are prone to leaking. Authentic excellence requires a holistic view where every trim piece and transition is accounted for before the first nail is driven.
Deep Contextual Background
The trajectory of vinyl siding from its 1950s inception to its current state reflects a broader evolution in American manufacturing. Early PVC siding was notorious for brittleness and rapid UV degradation, often lead-stabilized and prone to shattering in cold climates. By the 1970s, the introduction of acrylic modifiers and titanium dioxide improved color retention and impact resistance, allowing it to surpass aluminum as the dominant residential cladding.
However, the “systemic” part of the installation remained primitive for decades. For a long period, vinyl was marketed as a “maintenance-free” solution that could be installed directly over rotting wood. This era created a legacy of moisture-trapped structures and gave rise to the “plastic house” stigma. Modern installations have corrected this by integrating the siding into a “managed-drainage” system. We now understand that the cladding is the “rainscreen” and the weather-resistive barrier (WRB) is the primary protection. This historical shift from “barrier” logic to “drainage” logic is the hallmark of contemporary professional standards.
Conceptual Frameworks and Mental Models
To evaluate the success of an installation, one must apply specific mental models borrowed from structural engineering and thermodynamics:
-
The Floating Fastener Principle: This model dictates that the siding must never be pinned to the wall. It must be hung so that it can slide horizontally. If the material cannot “breathe” physically, it will distort visually.
-
The Shingle-Lap Hierarchy: A fundamental rule of bulk water management. Every layer—from the tape on the window flashing to the siding panel itself—must overlap the layer below it. Gravity is the primary driver of failure; the plan must use gravity as a tool for drainage.
-
The Vapor Drive Equilibrium: This framework considers how moisture moves through a wall. In heating climates, moisture moves from inside to outside. The installation plan must ensure that the siding does out-pace the wall’s ability to dry, preventing interstitial condensation.
Key Categories and Strategic Variations
Not all installation strategies are created equal. The choice of plan depends largely on the architectural style and the environmental stressors of the region.
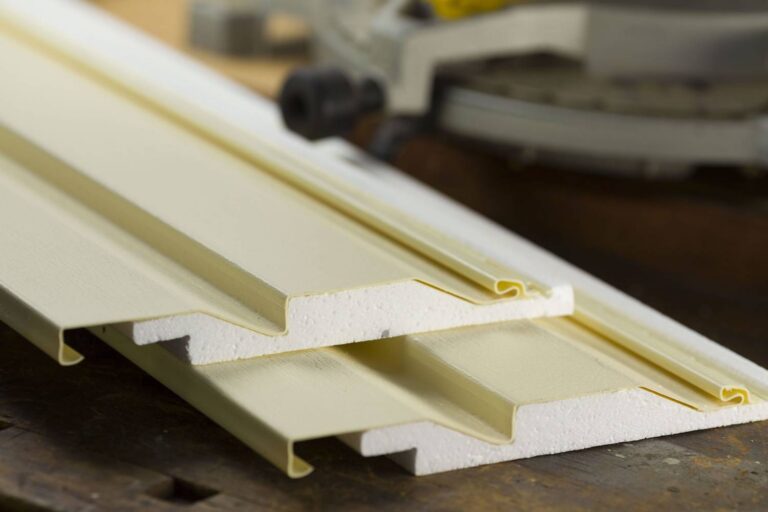
1. Insulated Siding Systems (Integrated Foam)
These plans utilize panels with factory-laminated contoured foam. This increases R-value and significantly improves impact resistance.
-
Trade-off: Higher material cost and requires extended window and door casing (J-channel) depths.
2. Traditional Lap Siding (Partial or Full Reveal)
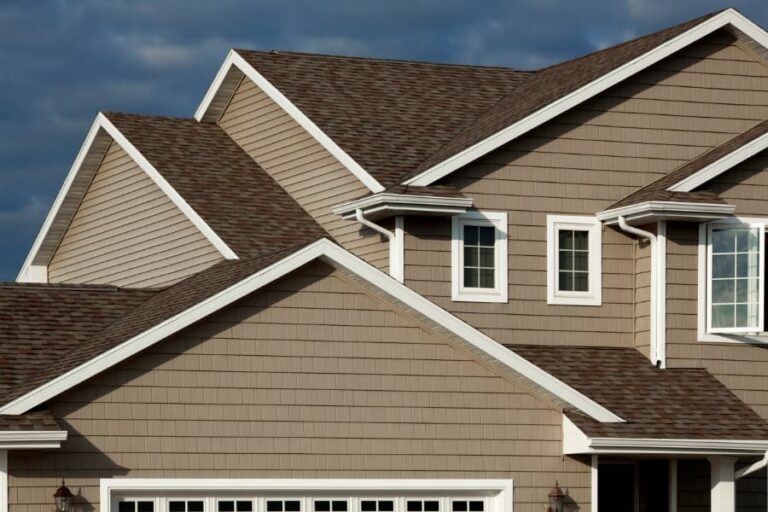
The standard horizontal application. Planning focuses on “staggering” laps to ensure seams are not concentrated in a single vertical line, which is a visual and mechanical weak point.
-
Trade-off: High visibility of seams if not planned against the primary “sightlines” of the property.
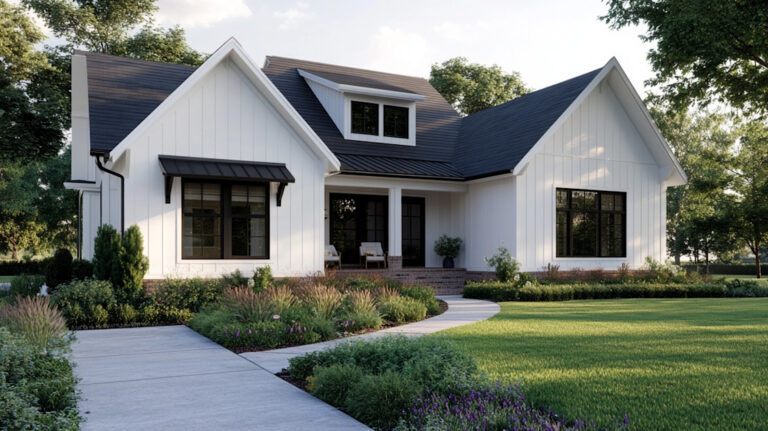
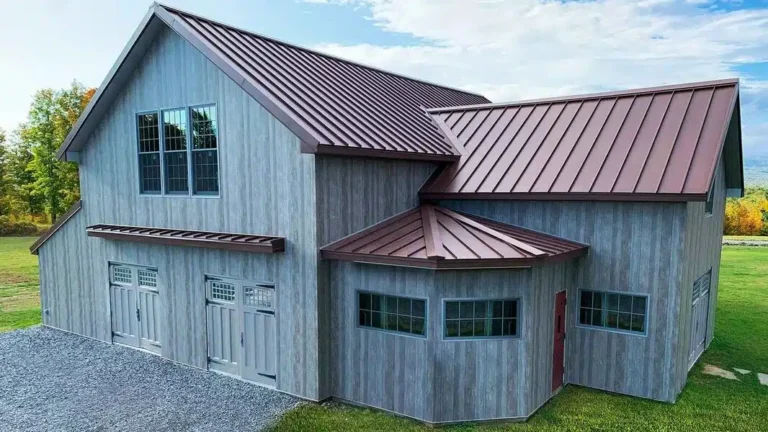
3. Vertical Board and Batten
Often used for modern farmhouse or contemporary styles. This requires different starter strips and specialized planning for horizontal furring strips to ensure proper fastening.
-
Trade-off: More complex moisture management at the base of the wall where vertical channels can trap debris.
Strategic Comparison Table
| Plan Category | Thermal Performance | Wind-Load Resistance | Aesthetic Versatility | Complexity |
| Insulated Lap | High | Superior | Traditional | Medium |
| Standard Lap | Low | Moderate | High | Low |
| Board & Batten | Low | High | Modern/Rustic | High |
| Cedar Shake Poly | Low-Medium | High | Artisanal | High |
Detailed Real-World Scenarios Top Vinyl Siding Installation Plans

Scenario A: The High-Wind Coastal Zone
An installation on the Atlantic coast faces 110-mph gusts.
-
The Plan: Requires “double-hem” siding and stainless steel fasteners driven into structural studs rather than just the sheathing.
-
Failure Mode: Using standard-gauge siding which can “unzip” from the locking track during a pressure event.
Scenario B: The Extreme Thermal Swing (Midwest)
A home in Minnesota experiences -20°F winters and 100°F summers.
-
The Plan: Focuses on oversized “expansion gaps” (1/4 to 3/8 inch) at all J-channels and corner posts.
-
Failure Mode: Nailing the siding too tight (“hard-nailing”), causing the panels to “oil-can” or buckle as soon as the sun hits the wall.
Planning, Cost, and Resource Dynamics
The financial planning of an installation must account for more than just the “cost per square.” True economic analysis includes the removal of existing materials and the remediation of the “substrate.”
Range-Based Cost Dynamics (Per 100 Sq. Ft.)
| Expense Category | Economy Plan | Professional Grade | Premium/Insulated |
| Material (Vinyl) | $80 – $150 | $160 – $250 | $300 – $500 |
| Underlayment/WRB | $20 – $40 | $60 – $100 | $120 – $200 |
| Labor (Specialized) | $150 – $250 | $300 – $500 | $500 – $800 |
| Permits/Disposal | $30 – $50 | $50 – $100 | $100 – $150 |
Note: Opportunity costs include the lack of energy savings if a non-insulated plan is chosen in a cold climate.
Tools, Strategies, and Support Systems
A high-level installation is supported by specialized equipment and methodologies that go beyond the hammer and level:
-
Pneumatic Siding Nailers: Adjusted with a “stand-off” nosepiece to ensure nails are never driven flush.
-
Brake-Formed Custom Flashings: Using a metal brake to create site-specific “drip caps” for every window.
-
Laser Levels: Ensuring the “starter strip” is perfectly level across the entire circumference of the house to prevent “stair-stepping” seams.
-
Moisture Meters: Checking the moisture content of the OSB before sealing it behind a new WRB.
Risk Landscape and Failure Modes
The taxonomy of failure in vinyl siding is usually traceable to a deviation from the installation plan.
-
The “Z-Flashing” Omission: Failing to install metal flashing over window and door heads. This leads to water being trapped inside the J-channel.
-
Galvanic Corrosion: Using incompatible fasteners (e.g., plain steel) with aluminum trim pieces, leading to rust streaks and structural failure of the fastener.
-
Thermal Melting: Siding located near high-efficiency “Low-E” windows on neighboring houses can melt due to concentrated solar reflection. A modern plan must account for this “solar focal point” risk.
Governance, Maintenance, and Long-Term Adaptation
A successful exterior requires a governance structure for the homeowner.
-
Annual Inspection: Checking the “integrity of the lock”—ensuring panels haven’t unhooked near the roofline.
-
Cleaning Protocols: Avoiding high-pressure power washers which can drive water behind the panels and into the wall cavity.
-
Adaptation Triggers: If local building codes change regarding “continuous insulation,” the plan for future additions should be updated to match the original thermal profile.
Measurement, Tracking, and Evaluation
Performance tracking is divided into leading and lagging indicators:
-
Leading Indicator: The “pull test” during installation. A technician should be able to slide a twelve-foot panel back and forth by hand after it is nailed.
-
Lagging Indicator: Infrared thermography performed three years post-installation to check for moisture plumes or thermal leaks.
-
Documentation: Maintaining a “Fastening Schedule” log that confirms the depth and frequency of nails to satisfy manufacturer warranty requirements.
Common Misconceptions and Oversimplifications
-
Myth: Siding is the primary water barrier. Correction: The WRB (House Wrap) is the barrier; the siding is the shield.
-
Myth: More nails are better. Correction: Over-nailing restricts movement and causes buckling.
-
Myth: Vinyl is “maintenance-free.” Correction: It is “low-maintenance,” but requires regular cleaning and inspection of sealants at trim transitions.
-
Myth: You can’t install vinyl in winter. Correction: You can, but you must increase the expansion gaps to account for the material’s maximum contraction.
Conclusion
The pursuit of the top vinyl siding installation plans is ultimately an exercise in managing the tension between aesthetics and physics. Excellence in this domain is not found in the variety of the color palette, but in the rigor of the flashing details and the freedom of the panels to move. As residential architecture continues to face more volatile climatic challenges, the value of a deeply researched, systemically sound installation plan becomes the primary differentiator of home value. A home’s exterior should not be a static mask, but a dynamic, breathing shield capable of protecting the structural core for decades to come.